|
|
|
|
|
This page will be dedicated to the Tamiya Sikorsky CH-54 Skycrane Kit no. is PA1024
Index : - Universal Pod (scratchbuild)
|
|
One of the first kits I ever made back in the seventies was the Tamiya Sikorsky Skycrane These days the kit is still available on auction sites but is rather dificult to find, and the prices are also pretty high unfortunately. Anyway, I managed to get a few with the help of my friend in Japan, who also go me the Tamiya News from January 1973 and May 1973 Also I managed to get the re-release of Revell (which is the same as Tamiya's) but more of that later.
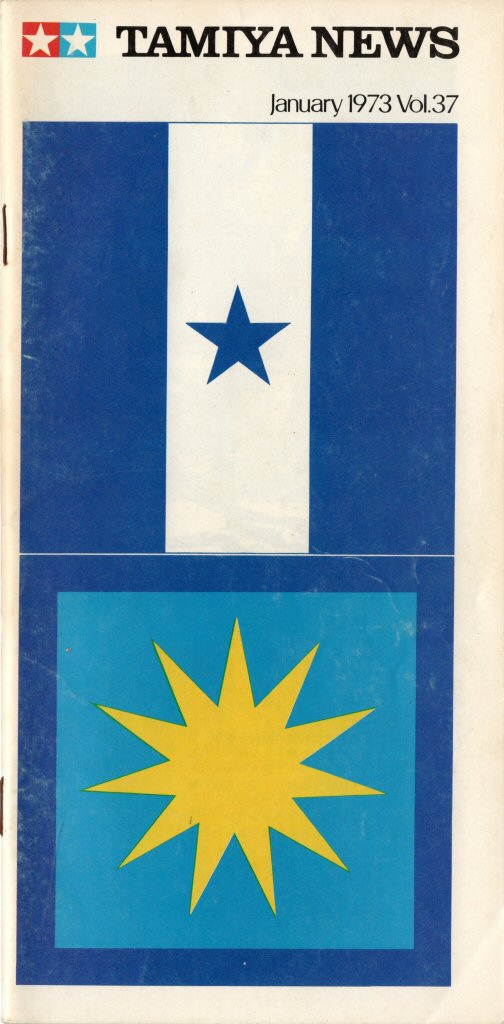
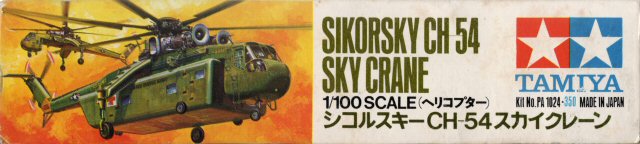
First an introduction of the kit It was first announced and released in 1973 and cost 350 Yen Below the Tamiya news from January 1973 (Volume 37) which announces the CH54 Skycrane
And the announcement itself
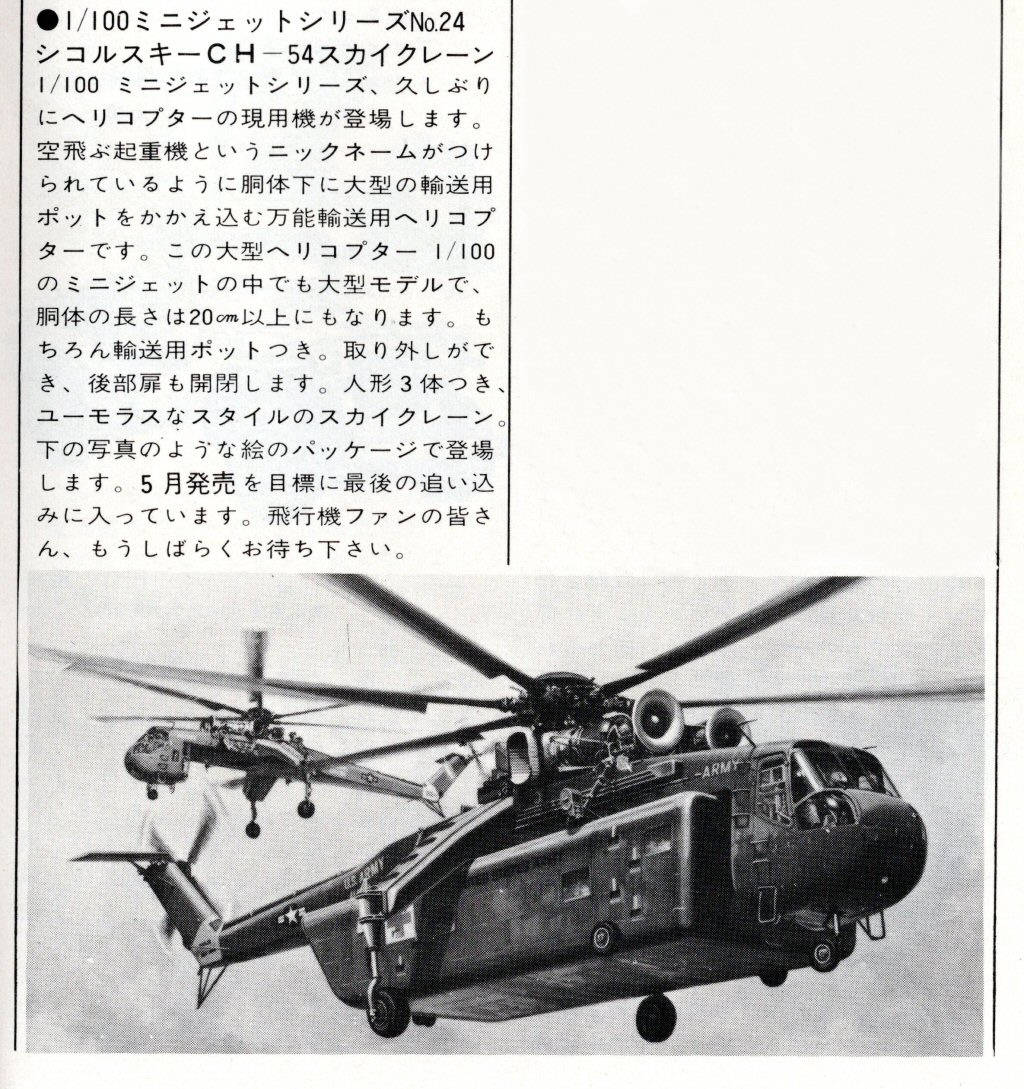
And the rough translation (With google translate) ---------------------------------------------------------------------------------------------------------- ●1/100 Mini Jet Series No.24 Sikorsky CH-54 Sky Crane 1/100
For the first time in a while, a
working helicopter will
It is a versatile transport helicopter that carries a large transport
pod under This helicopter is a large model among 1/100 mini jets, with a fuselage length of over 20 cm.
Of course, it comes with a pod for transportation.
A unique style sky crane with 3 figures. It comes in a package like the one pictured below. We are in the final stages of preparation with the goal of releasing it in May. Dear airplane fans, please wait a little longer. ----------------------------------------------------------------------------------------------------------
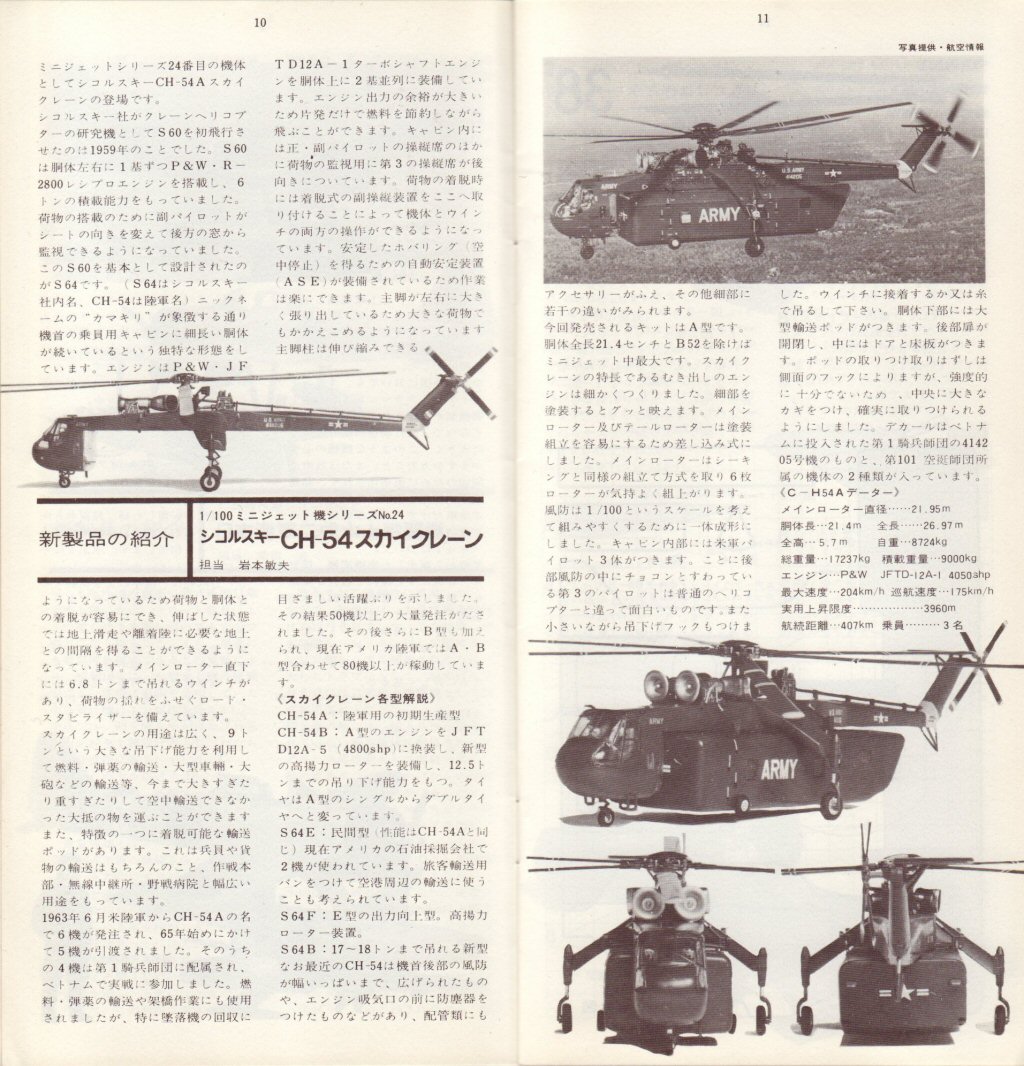
Below the introduction of the kit in the Tamiya News Edition from May 1973 (nr. 39)
I'll try to do a translation with the help of Google Translate of the article, but that will take some time
|
|
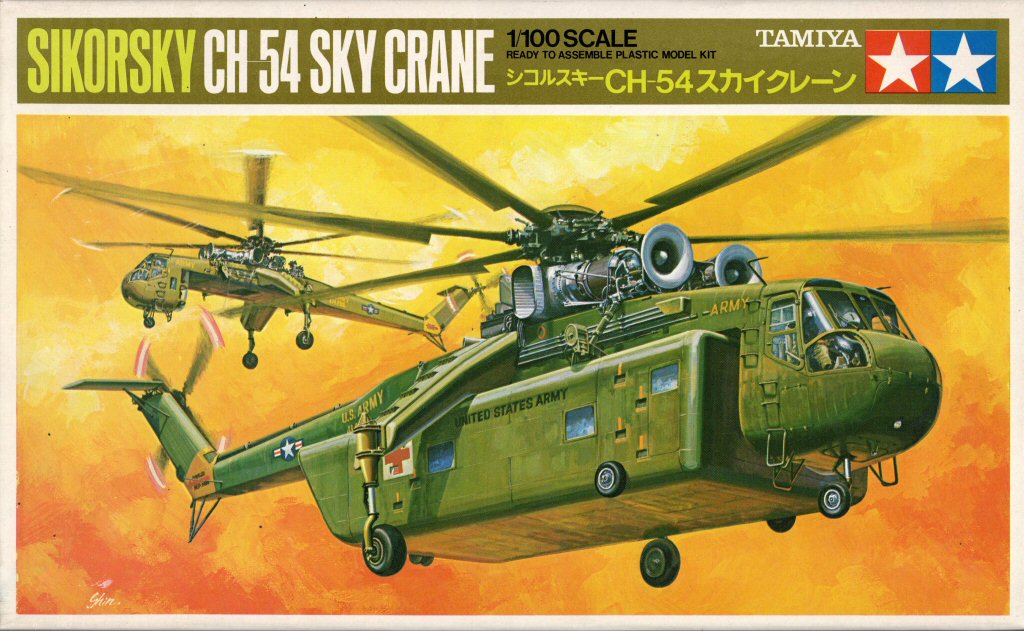
First of all ofcourse the box art
|
|
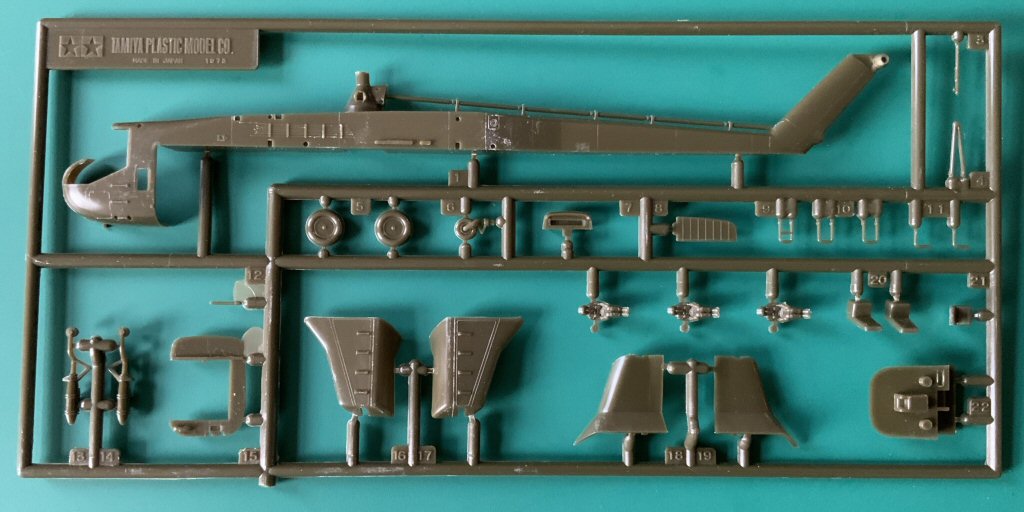
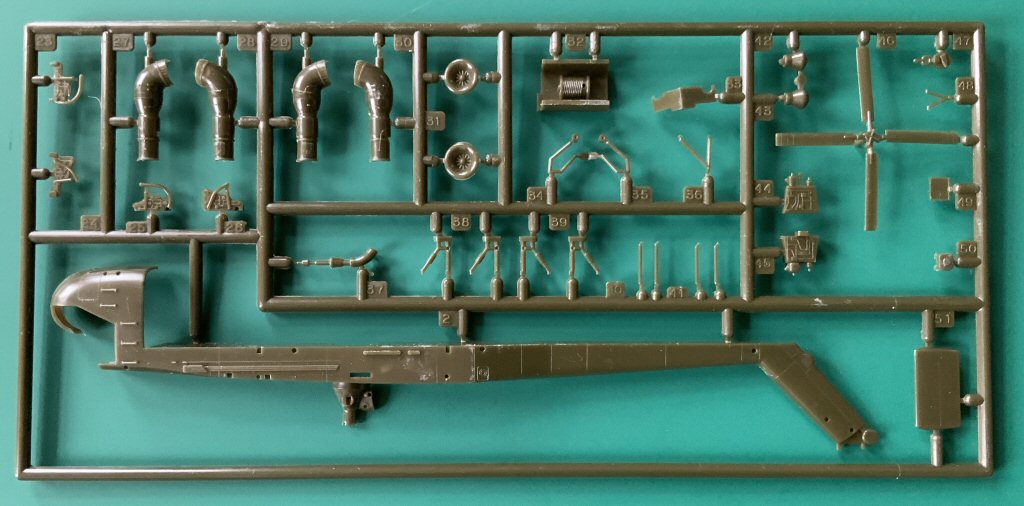
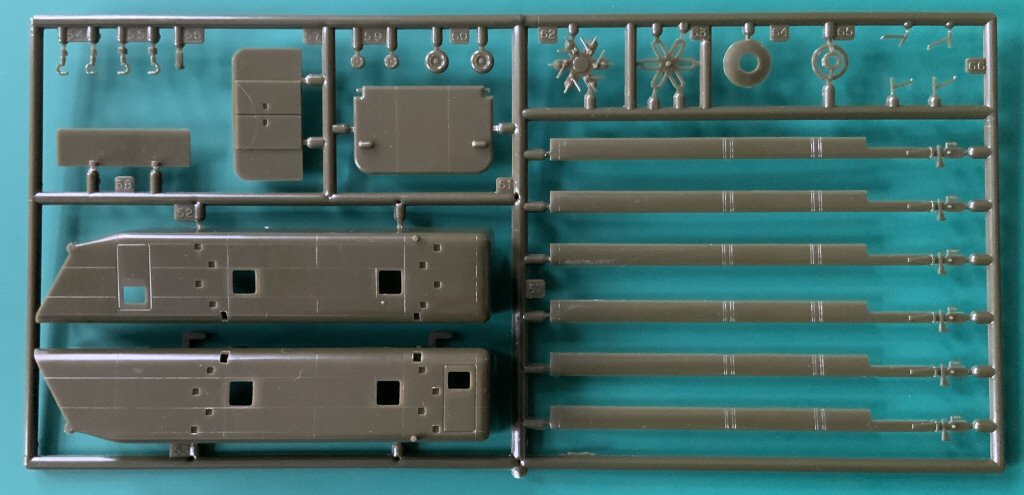
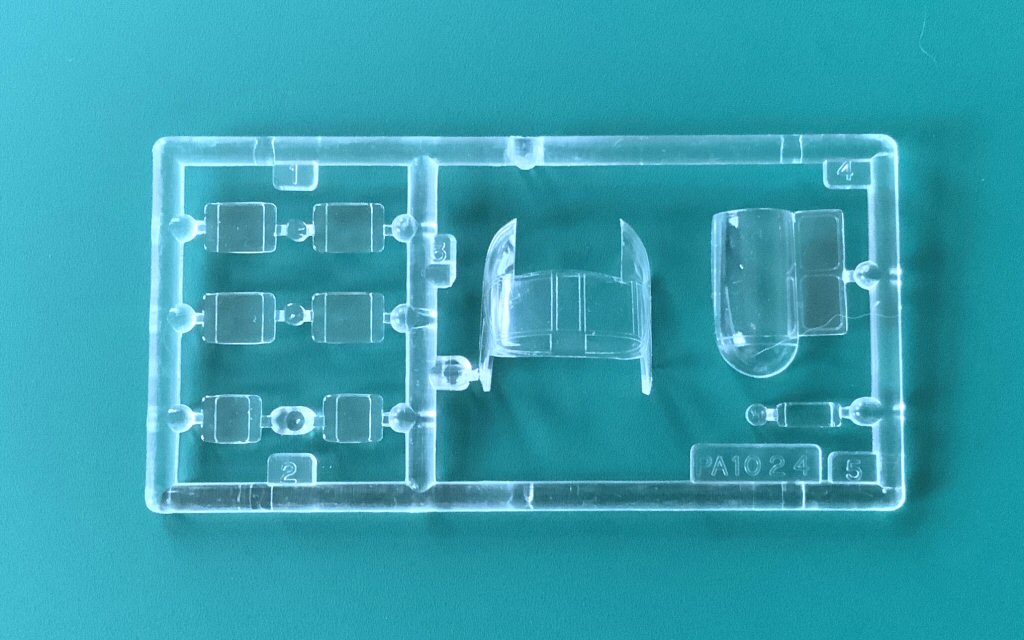
Then the Sprues
Sprue 1 (Front)
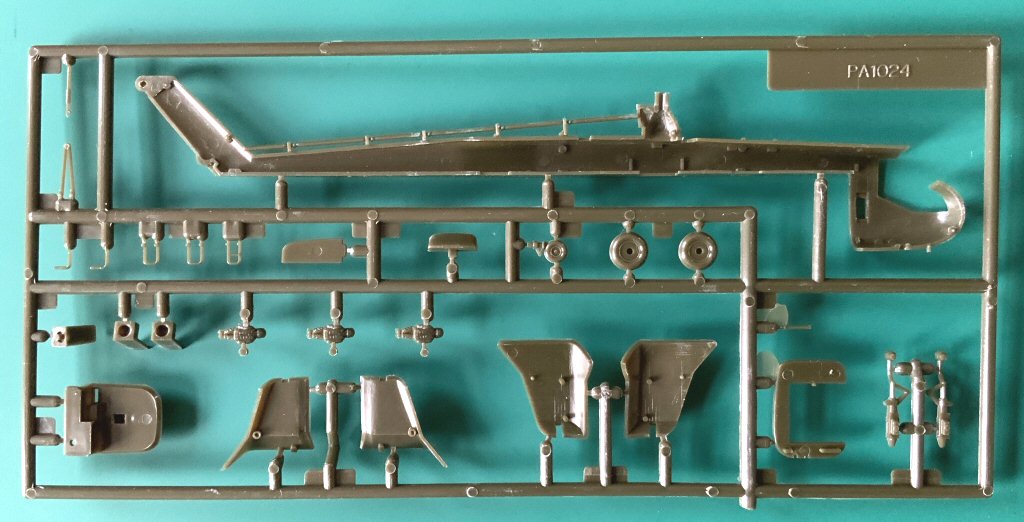
Sprue 1 (Back)
Sprue 2 (Front)
Sprue 2 (back)
Sprue 3 (Front)
Sprue 3 (Back)
And Sprue 4 (The clear parts)
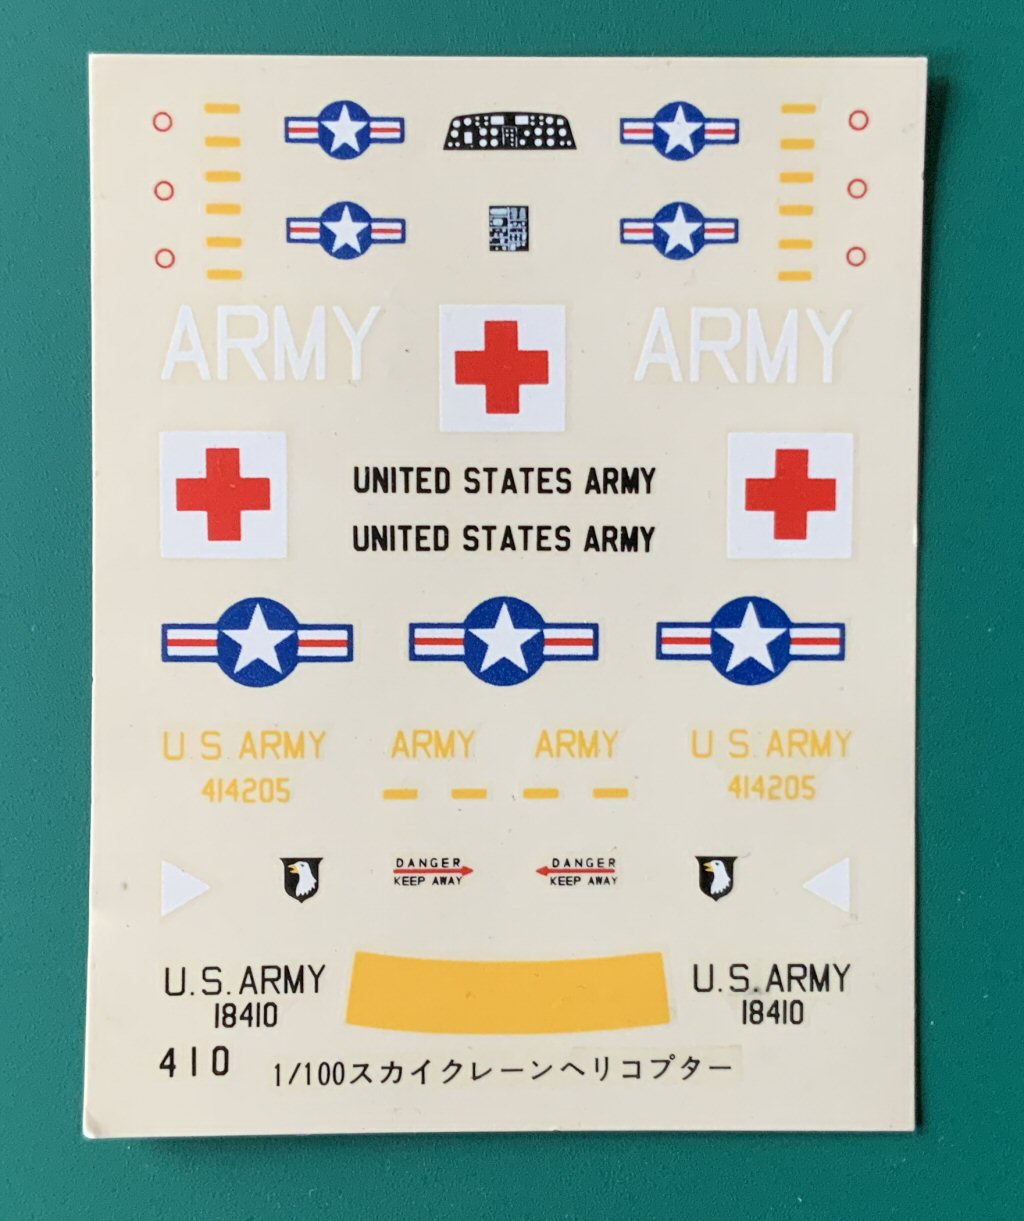
Decals
|
|
|
|
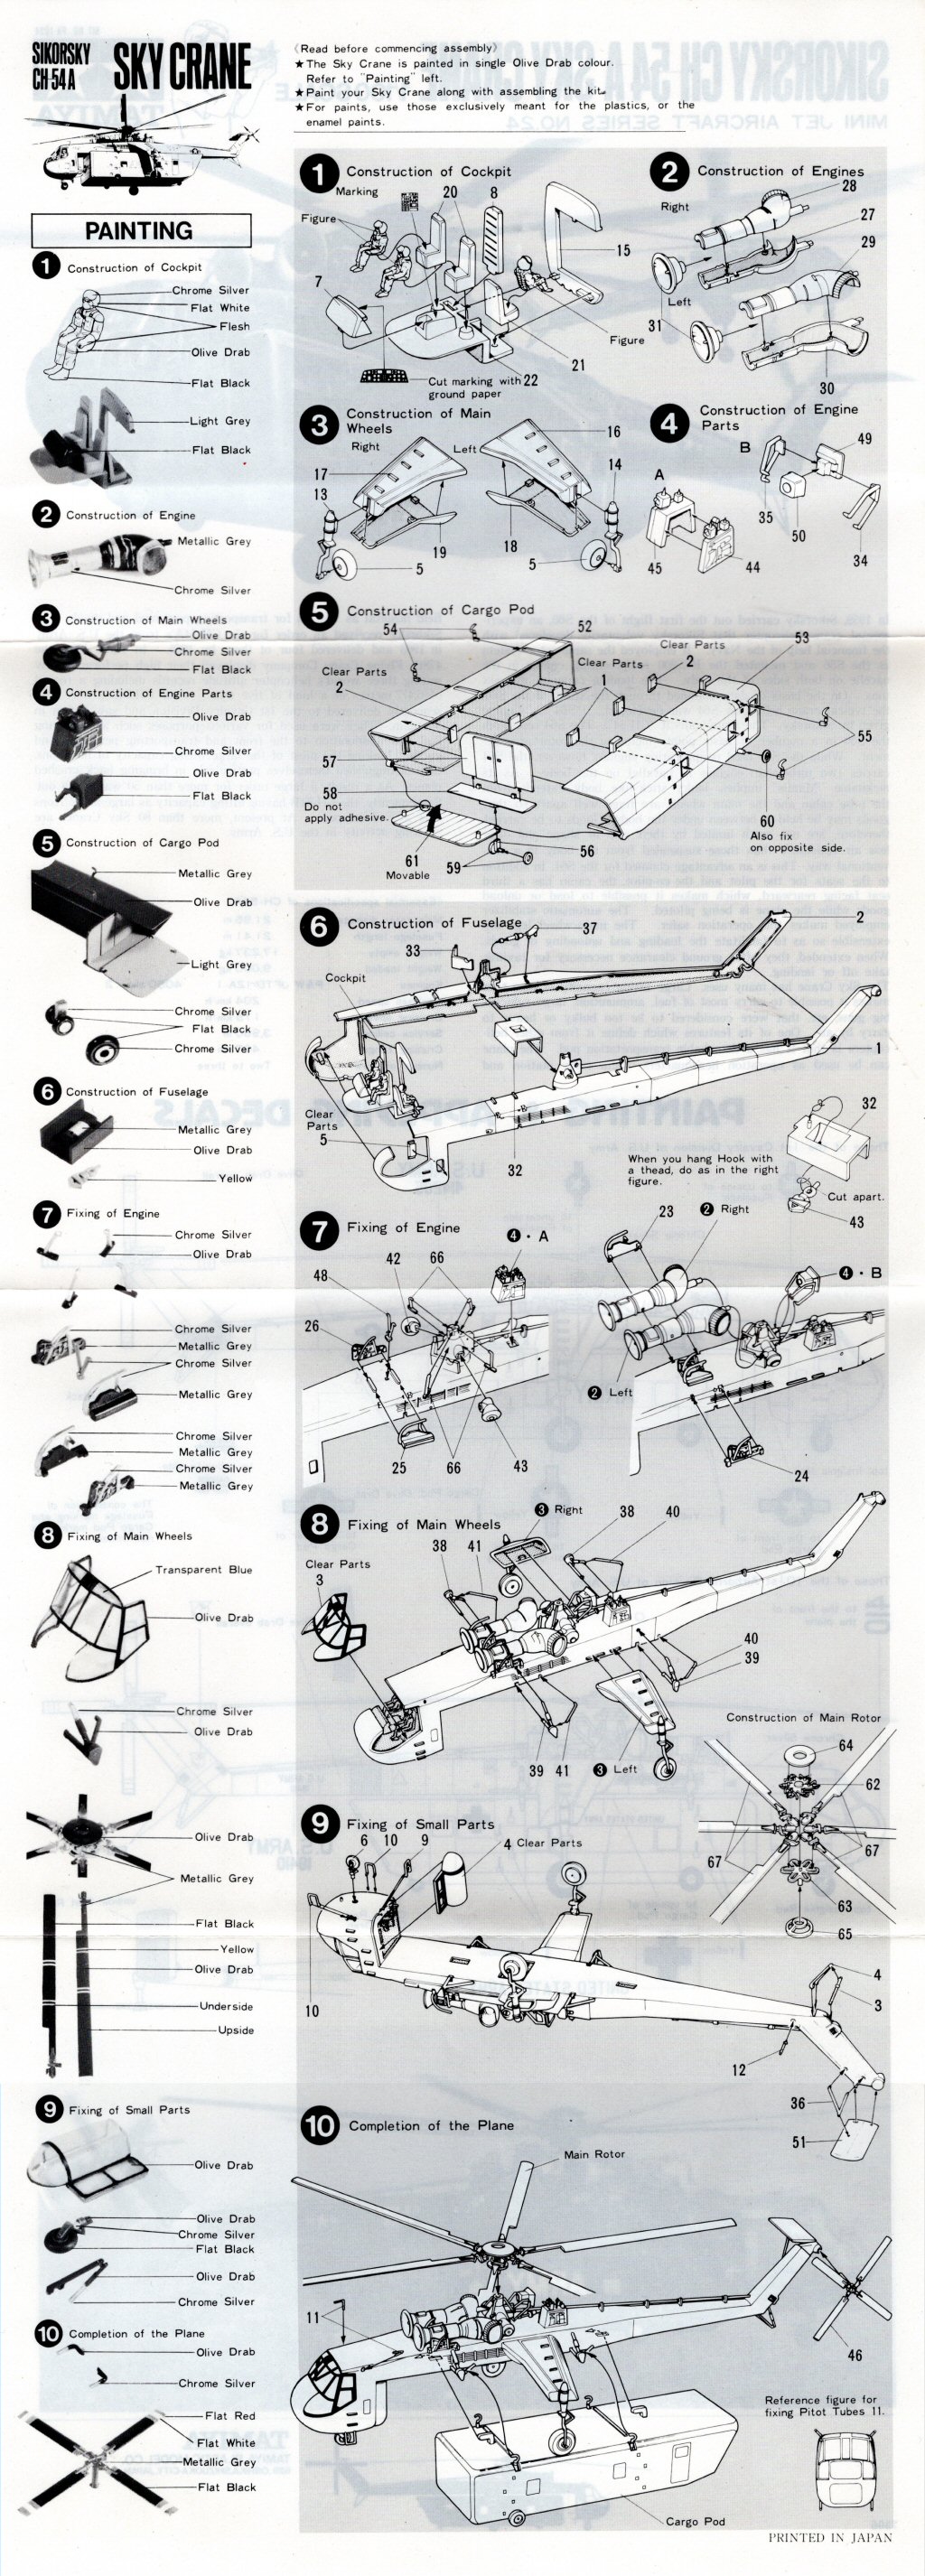
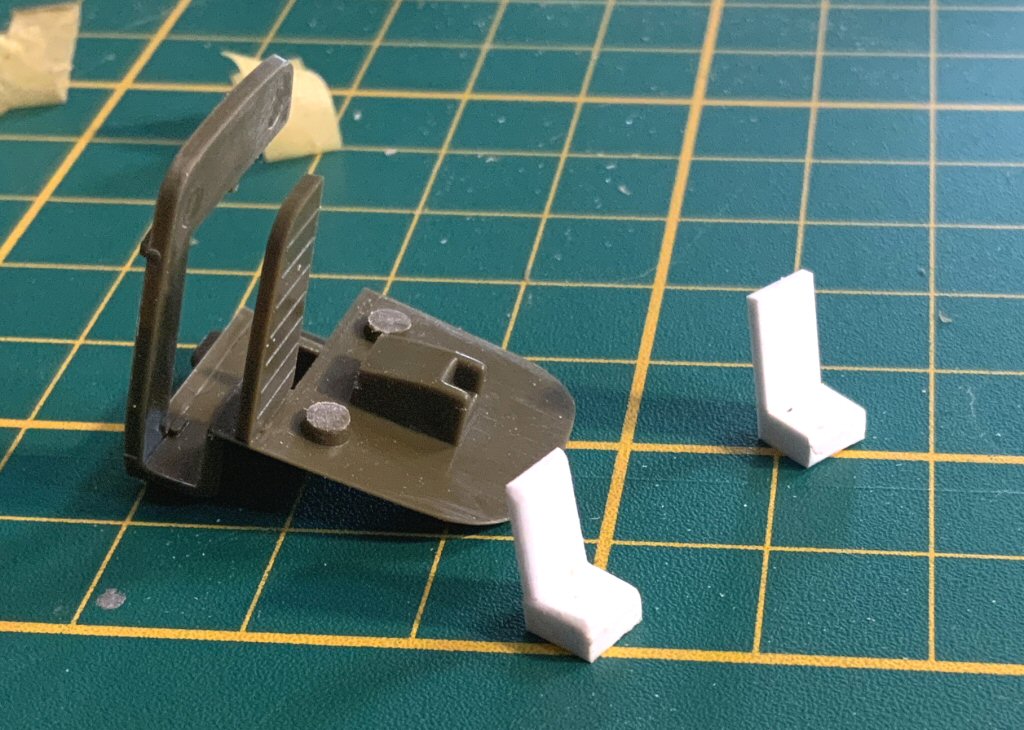
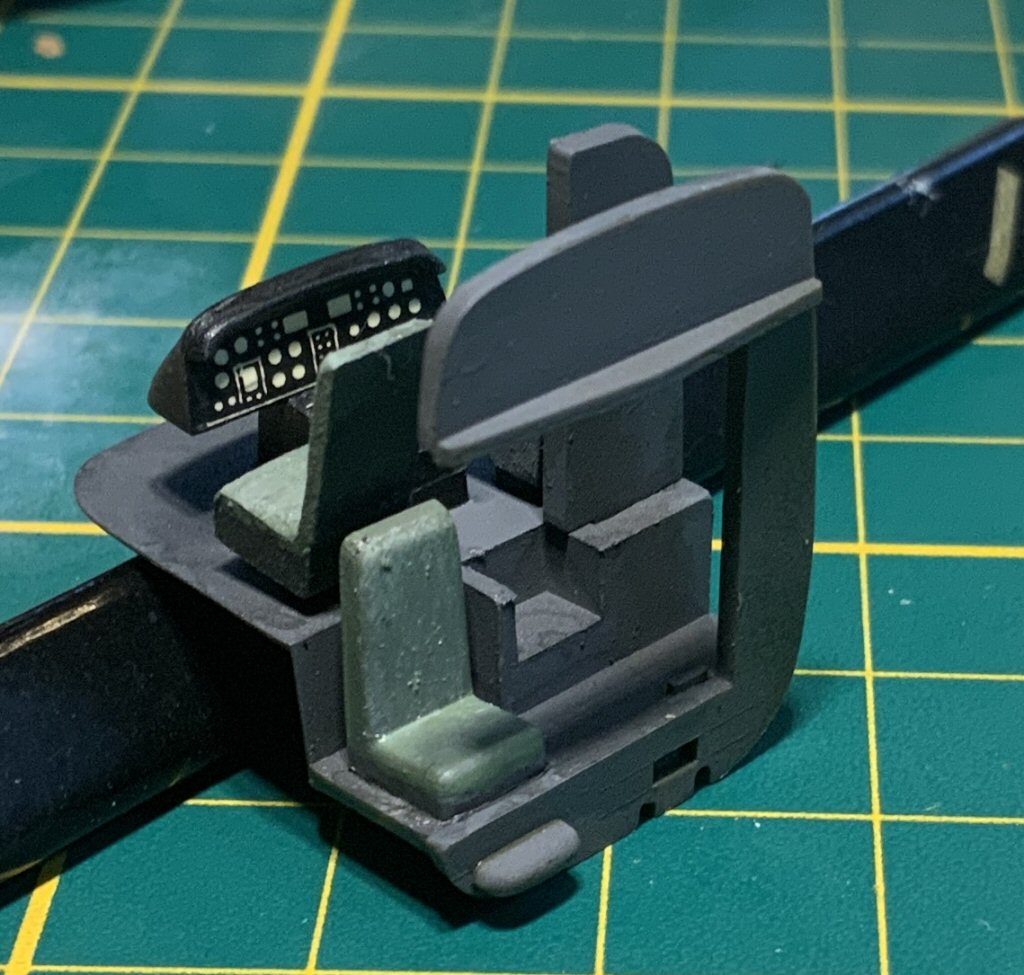
Step 1 The construction of the cockpit At the same time i got the Tamiya Skycrane, I also got the Revell Kit with nr. 4031, which is the same as Tamiya's In this kit the seats were missing, so I had to make my own (not much of a problem with the help of Evergreen strips
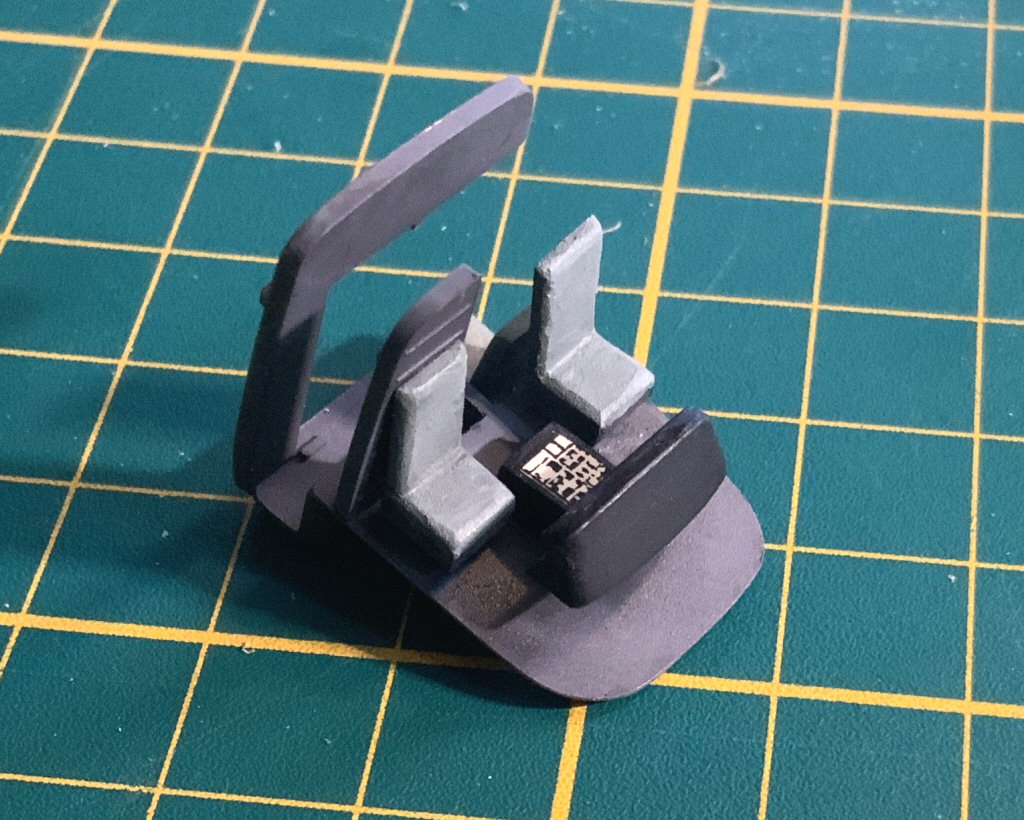
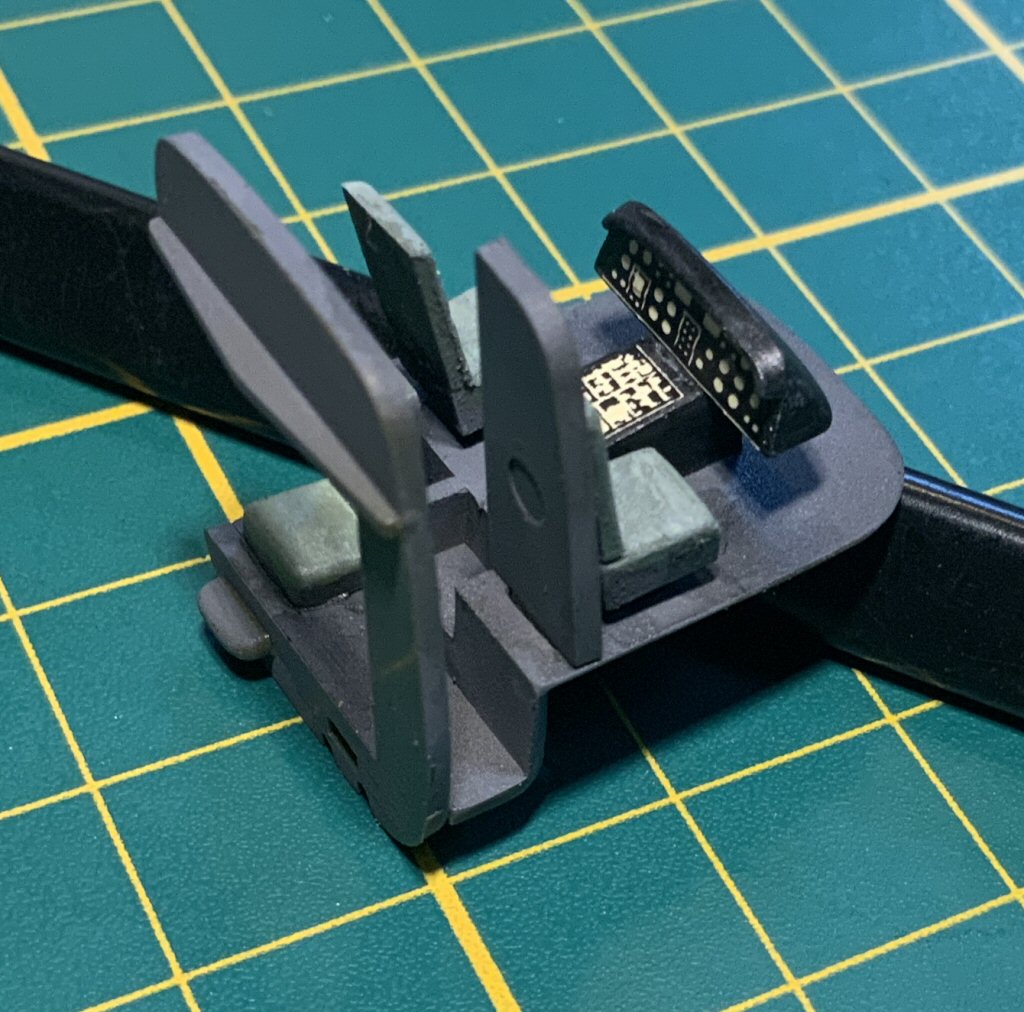
Here the cockpit painted and with decals
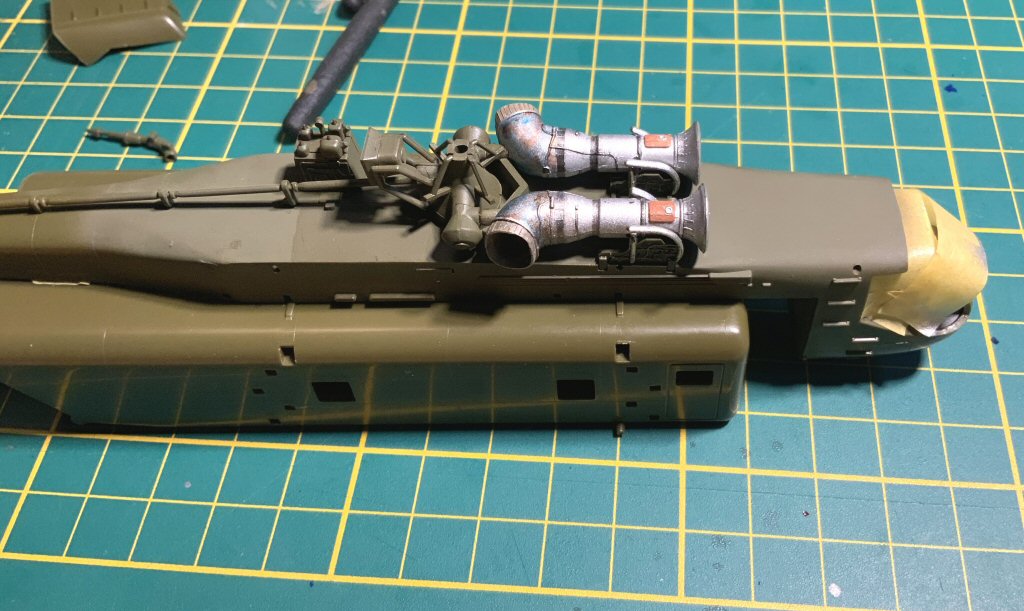
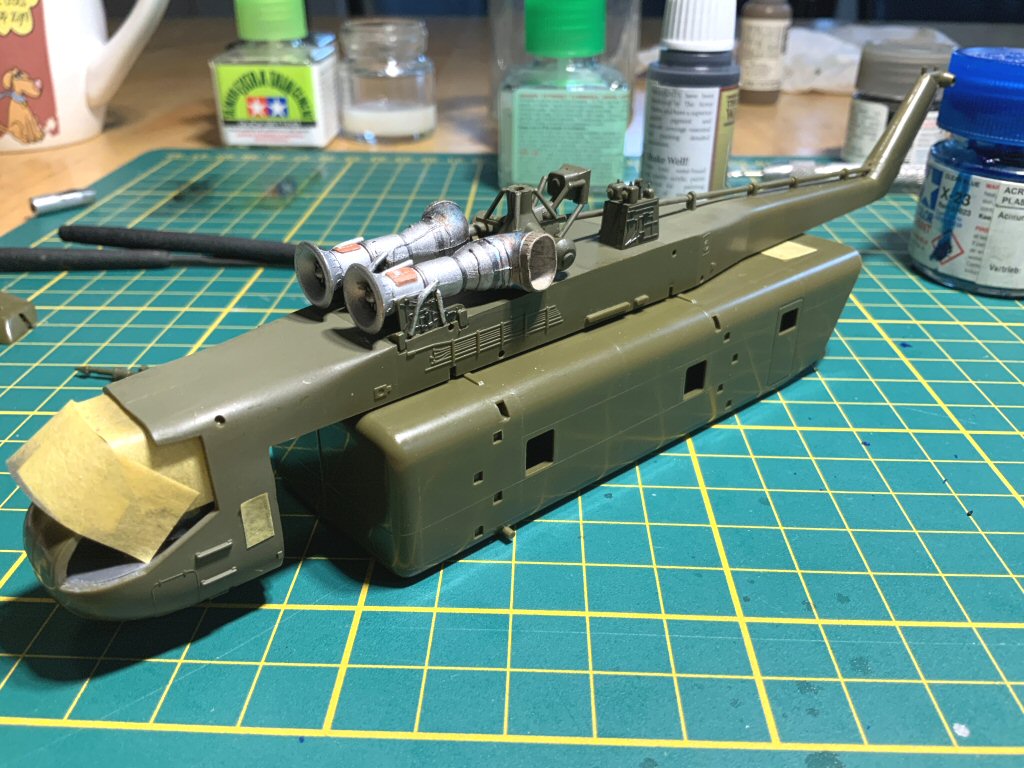
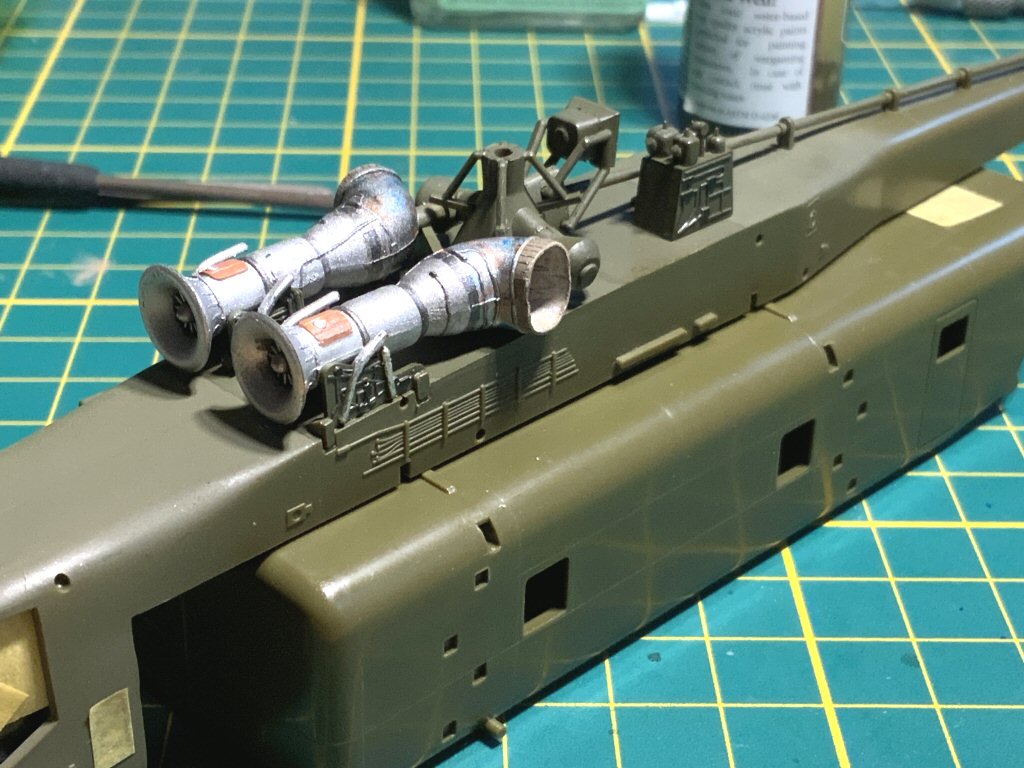
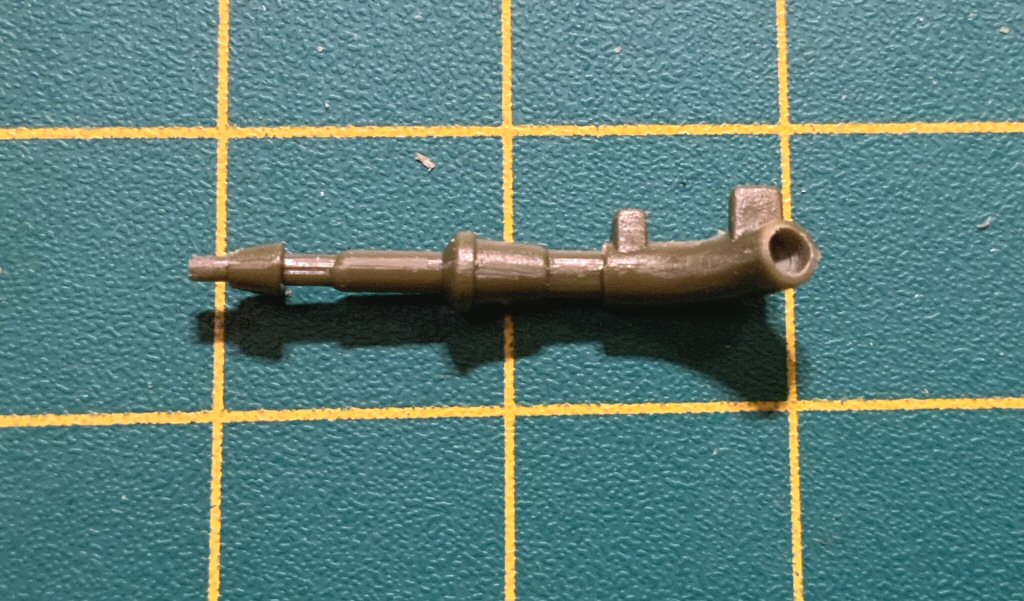
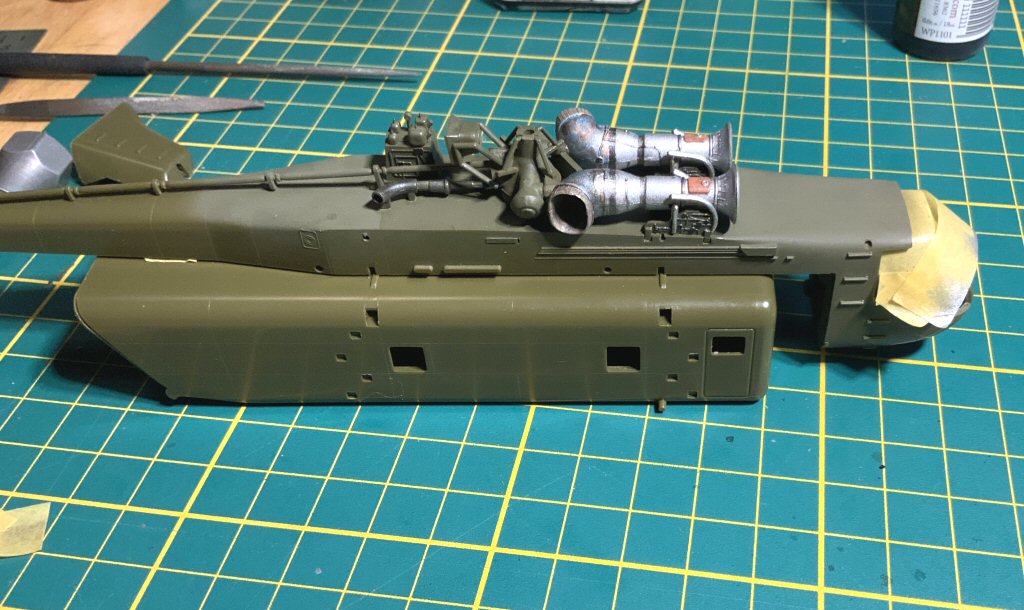
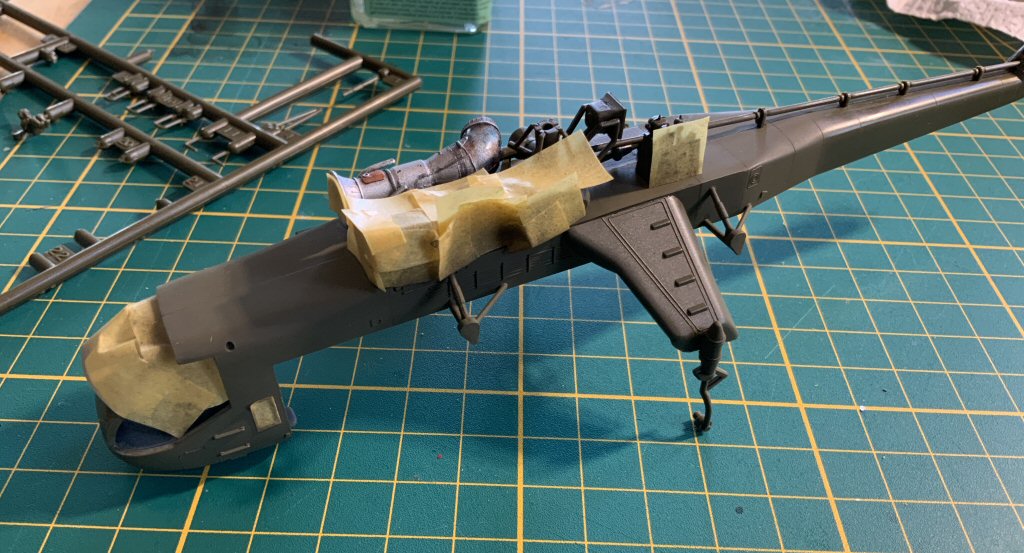
Step 2, 4 and 6 Step 2 and 4 instrucs to build the engines and engine parts Step 6 is the construction of the Fuselage I combined these in the following picture since it is a relatively easy build :)
On the pictures below i have installed the engines, did a test fit of the pod and drilled the exhaust pipe and installed it
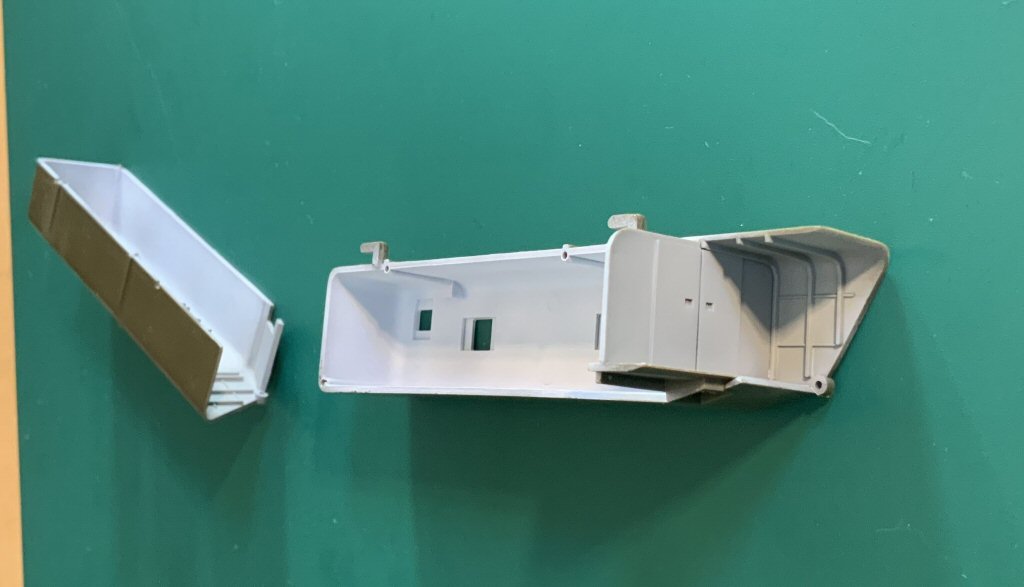
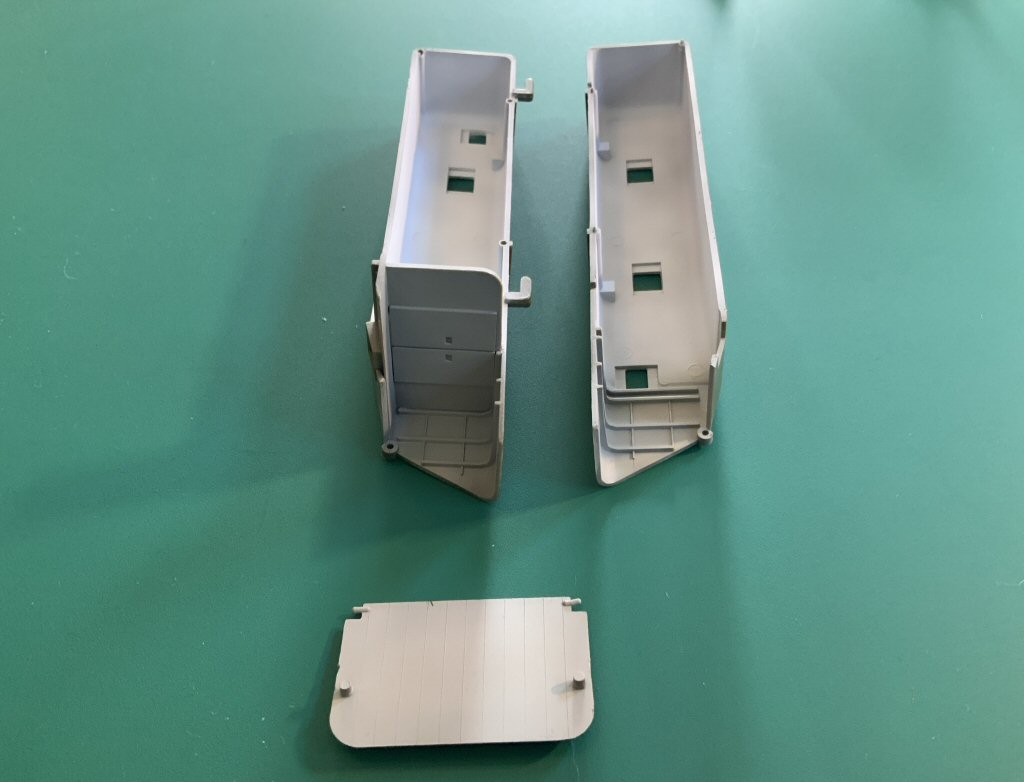
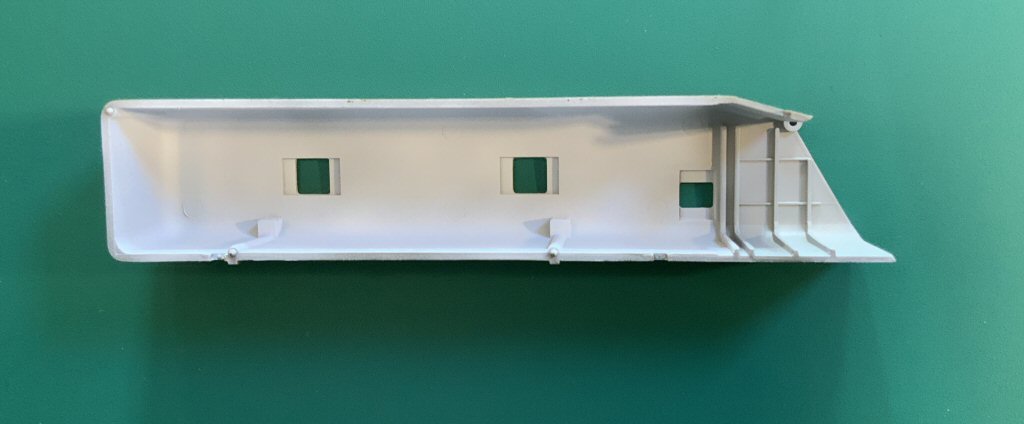
Then i went ahead with step 5, the construction of the cargo pod. Painted the inside white, and the rear part light grey
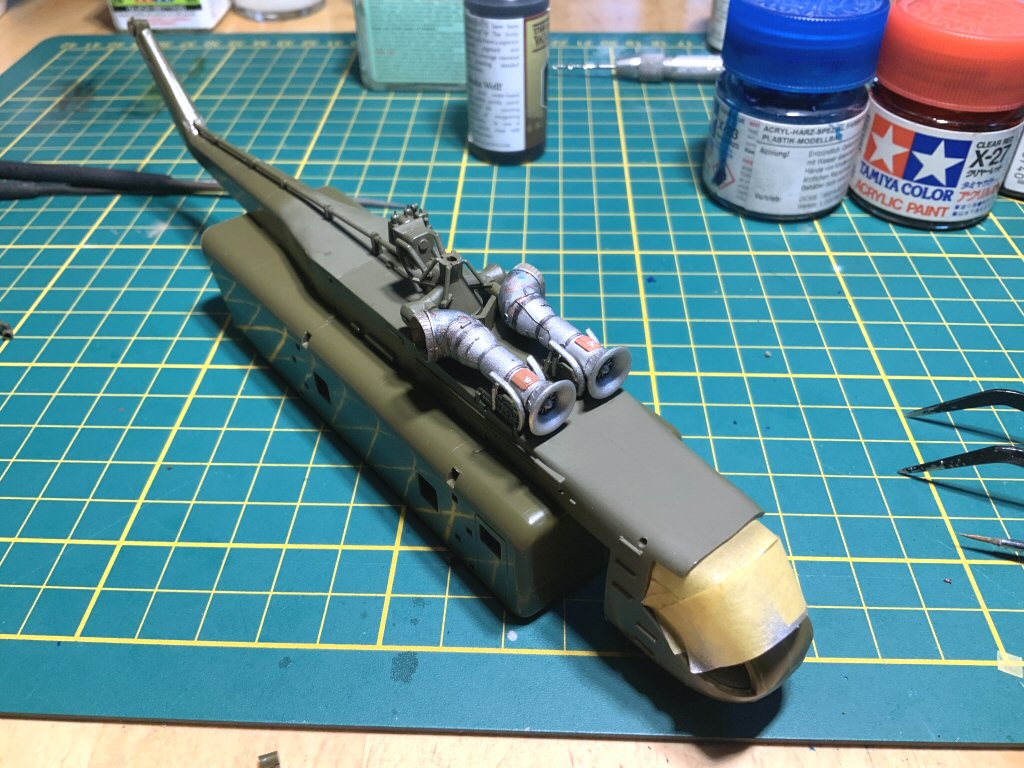
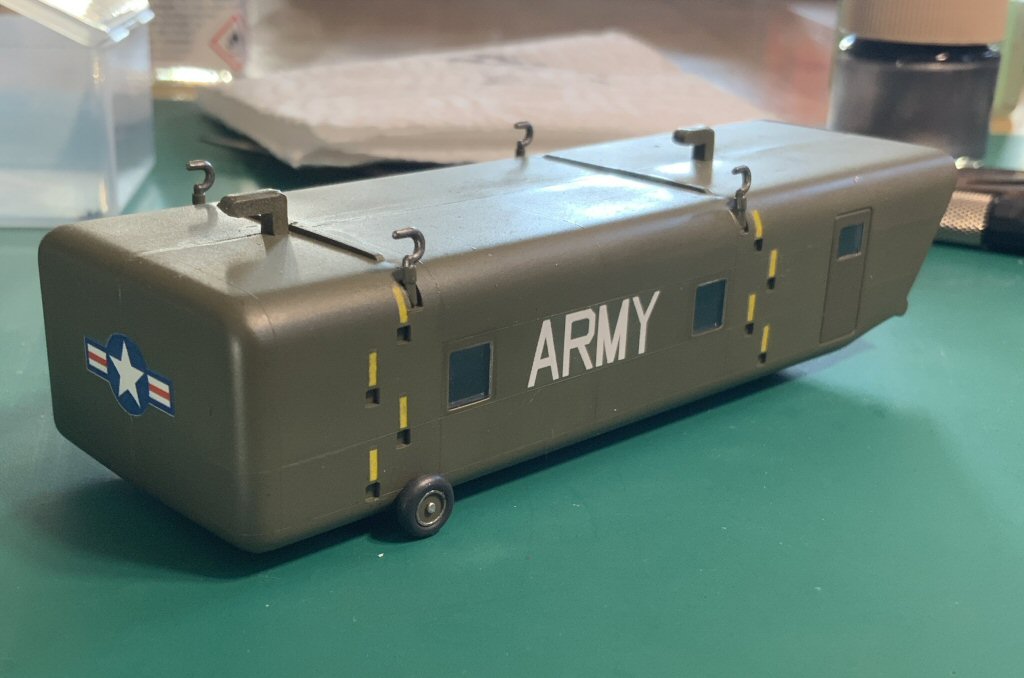
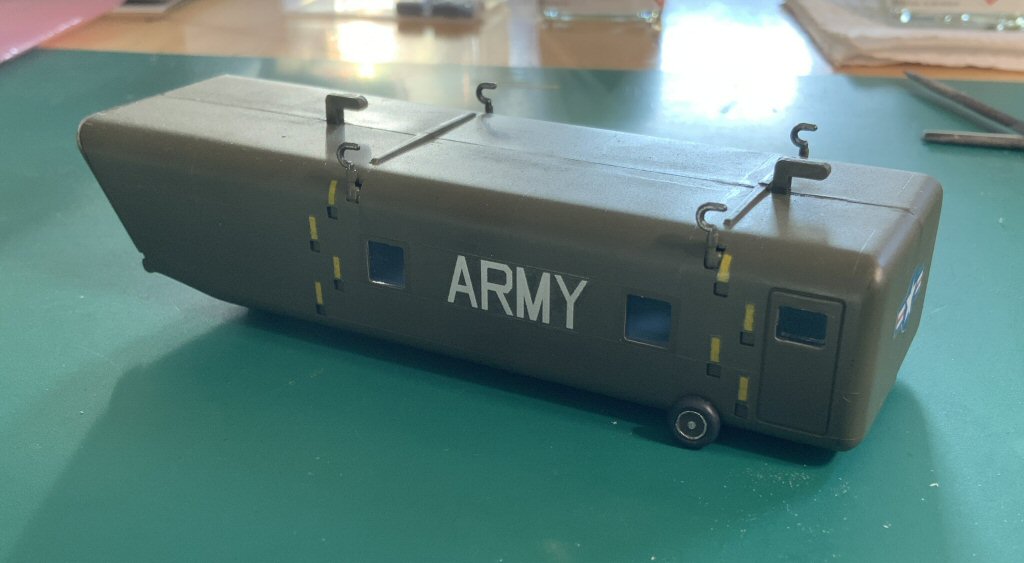
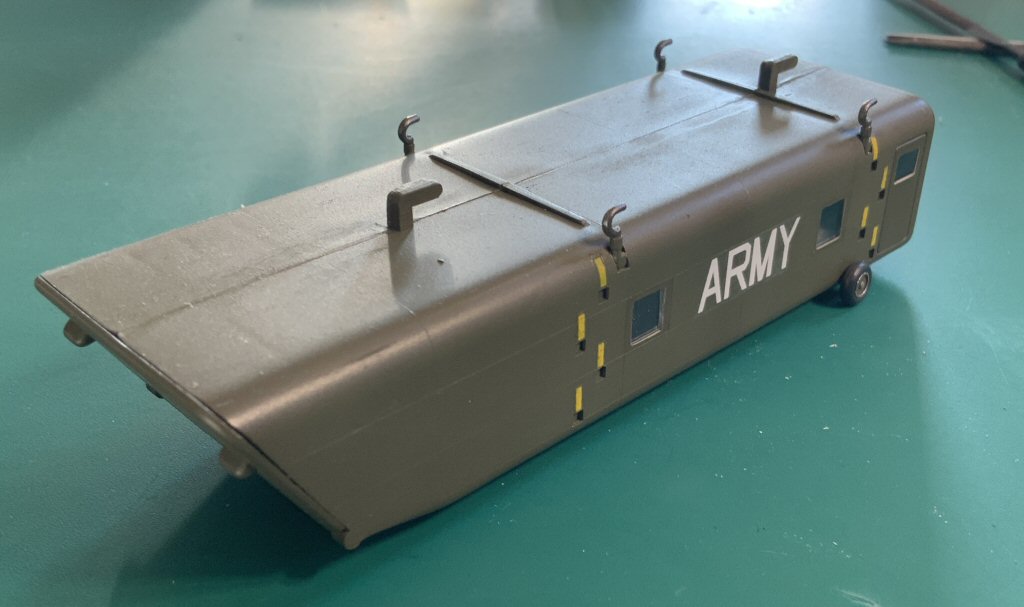
And further with the construction of the main wheel assembly, the lifting hooks, and masking the engines for painting
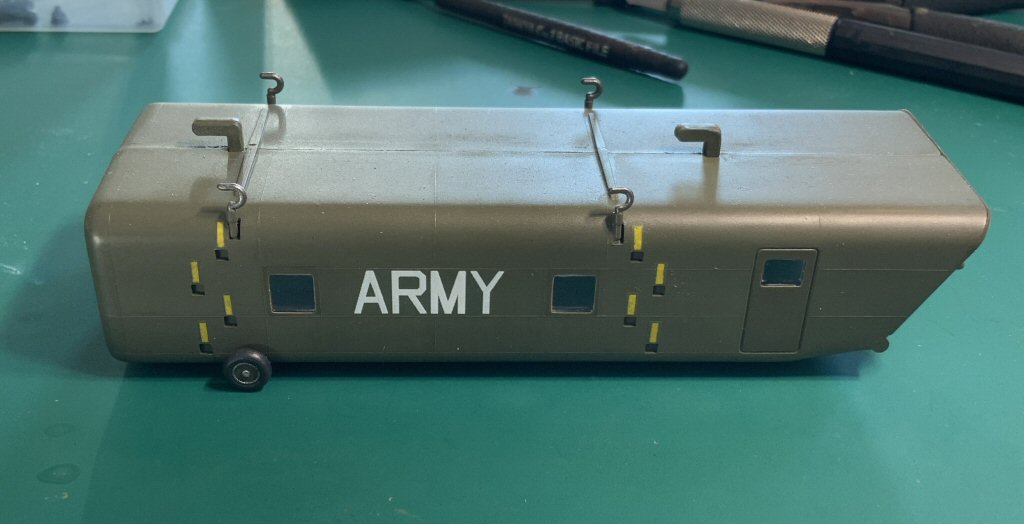
Here the pod is finished. Since i already put the yellow stripes on it I had to make it the Army version. On all the pictures of original medical pods, the yellow stripes are not present !!
So i added the wheels, the rotor blades and the front cockpit window.
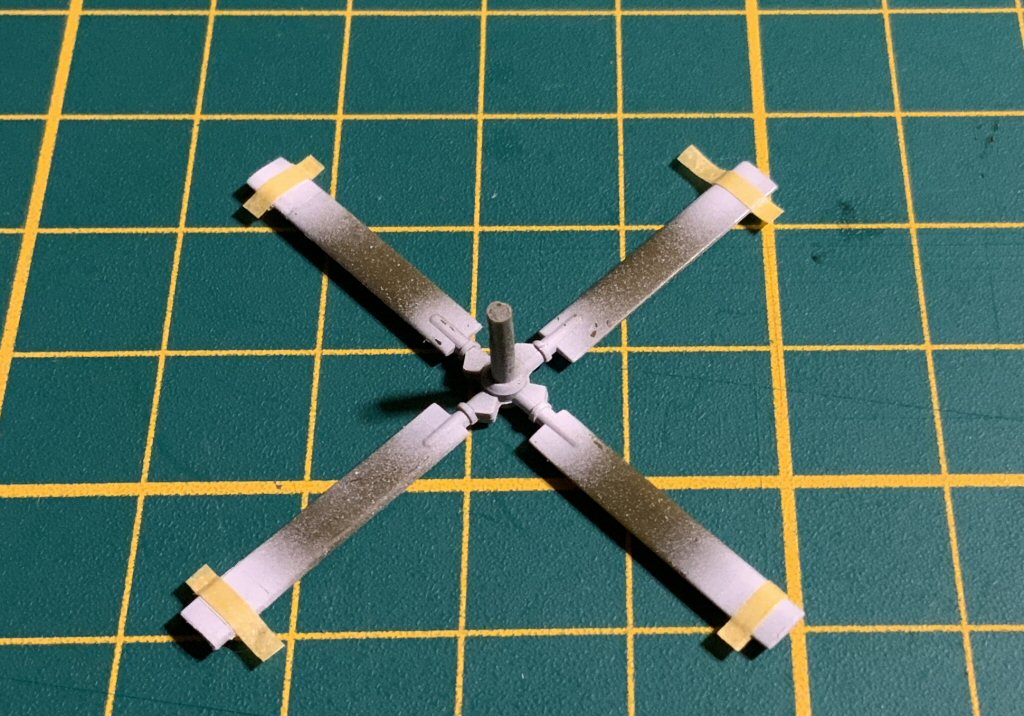
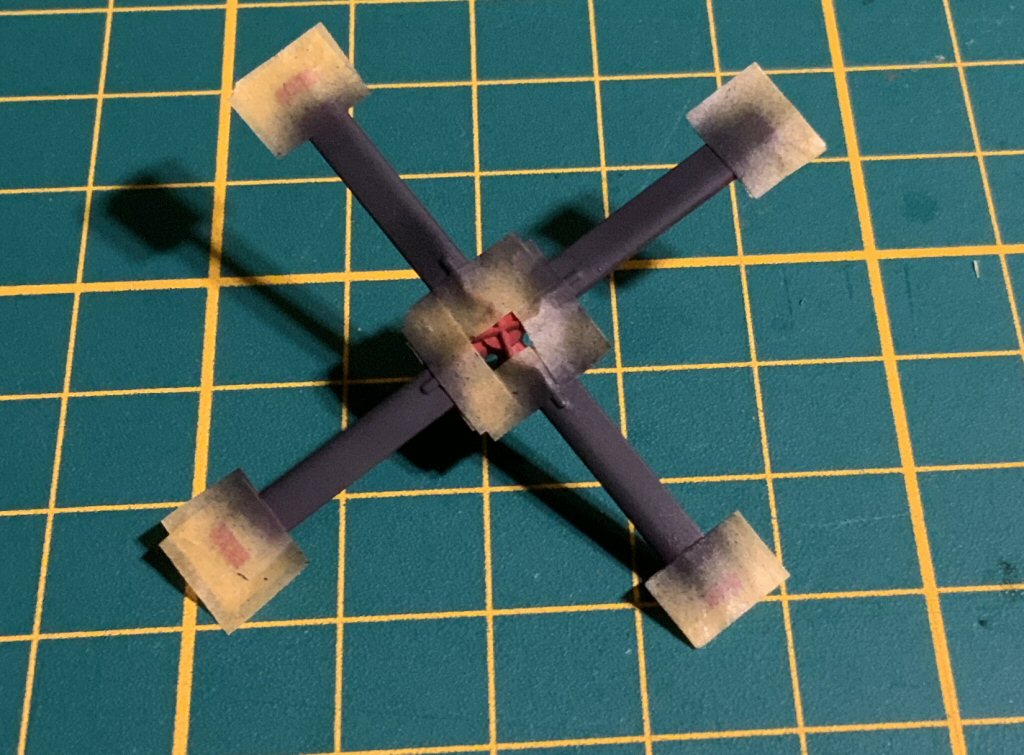
Here the painting process of the tail rotor blade is shown: First the tips and inside are painted white , coated with gloss coat and masked
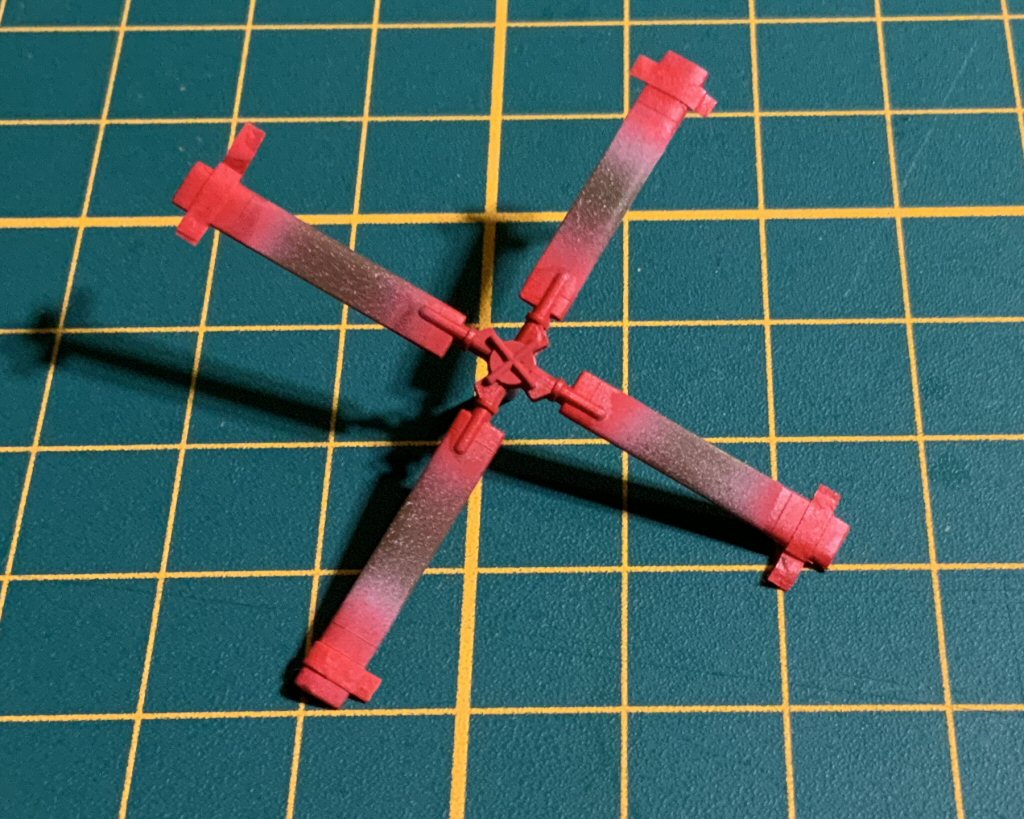
Then painted redand finished with a gloss coat.
when the masking is removed it looks like this:
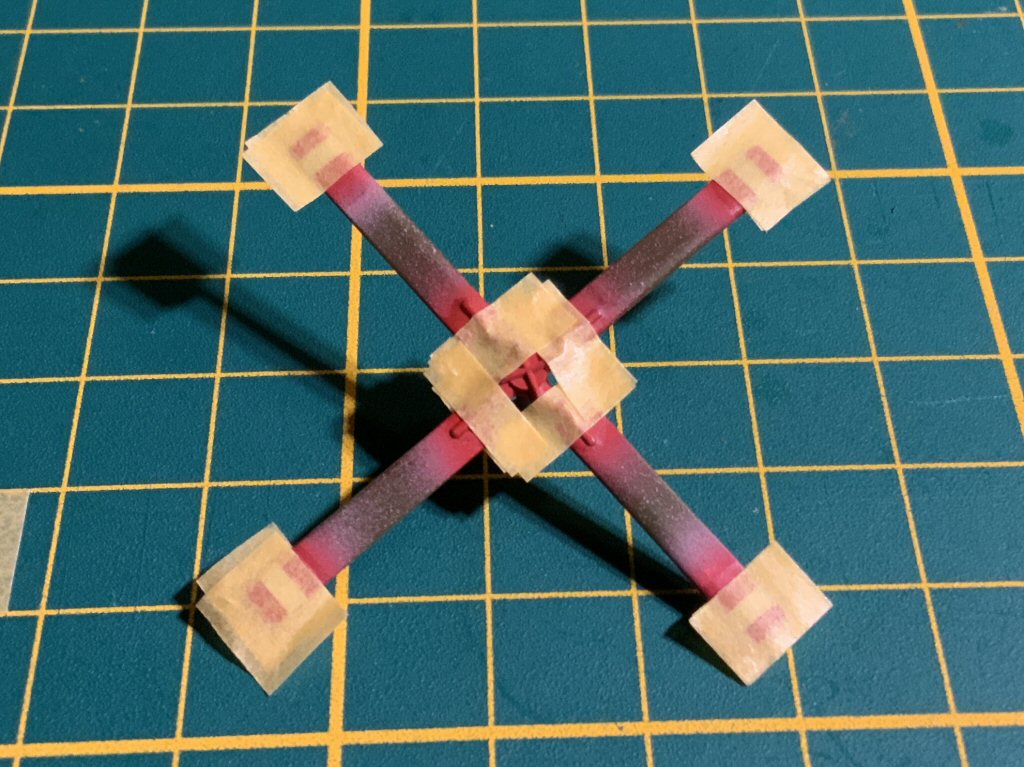
Then the tips and the middle portion is masked.
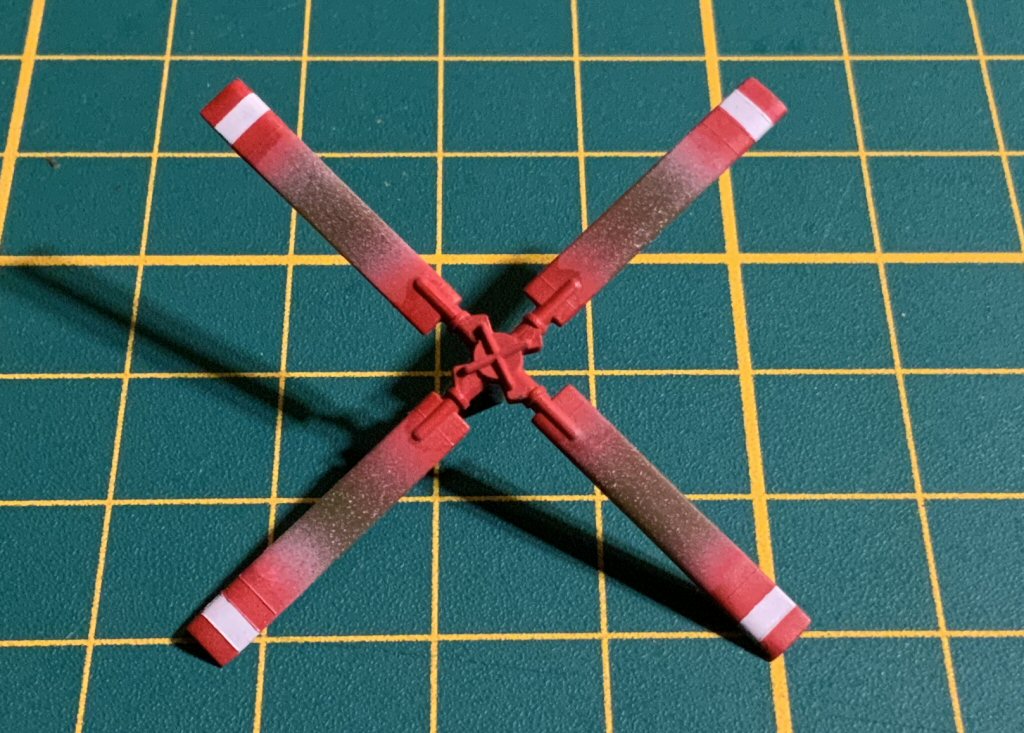
Then painted black and coated.
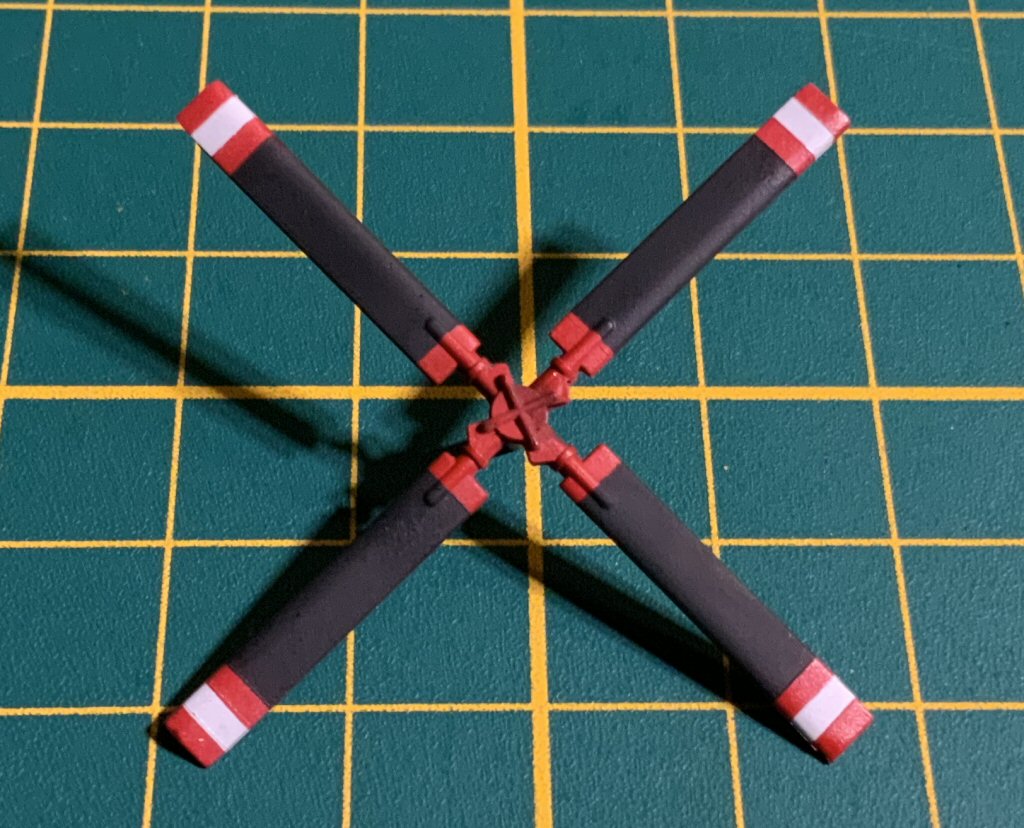
And the final appearance.
|
|
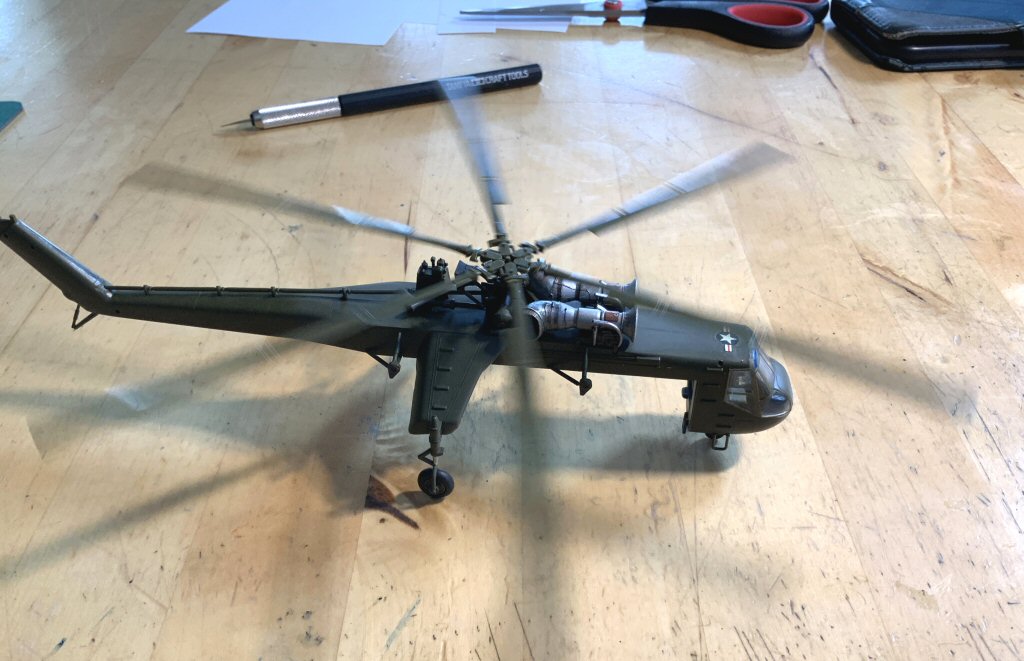
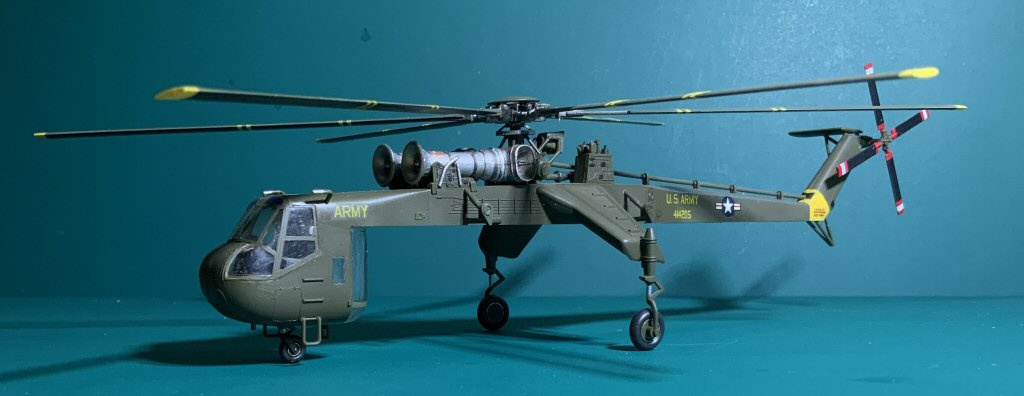
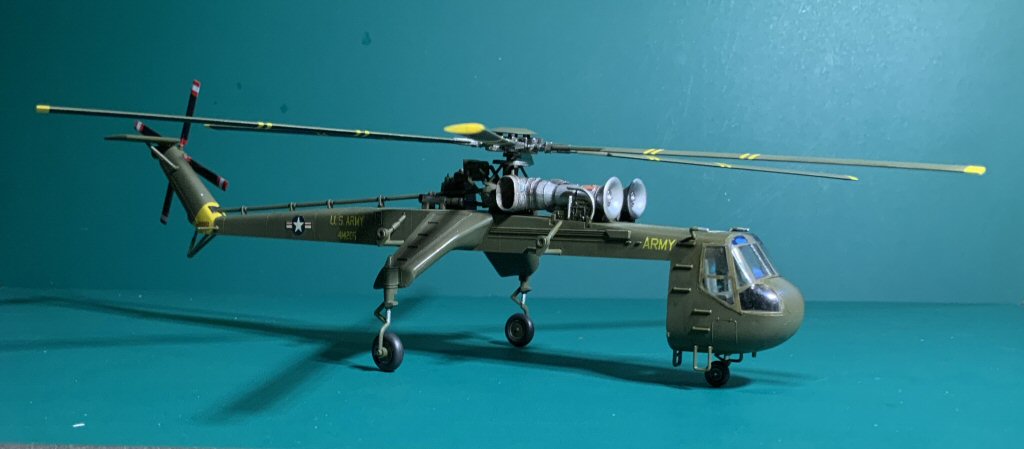
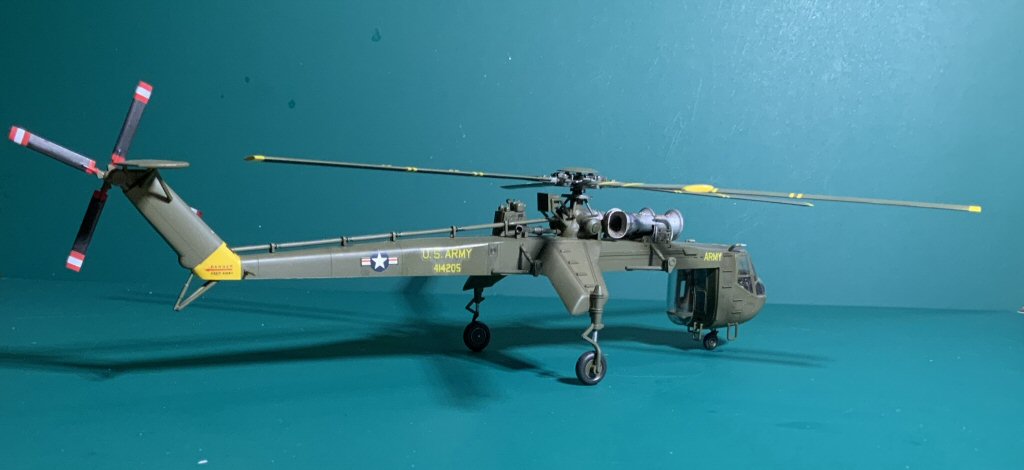
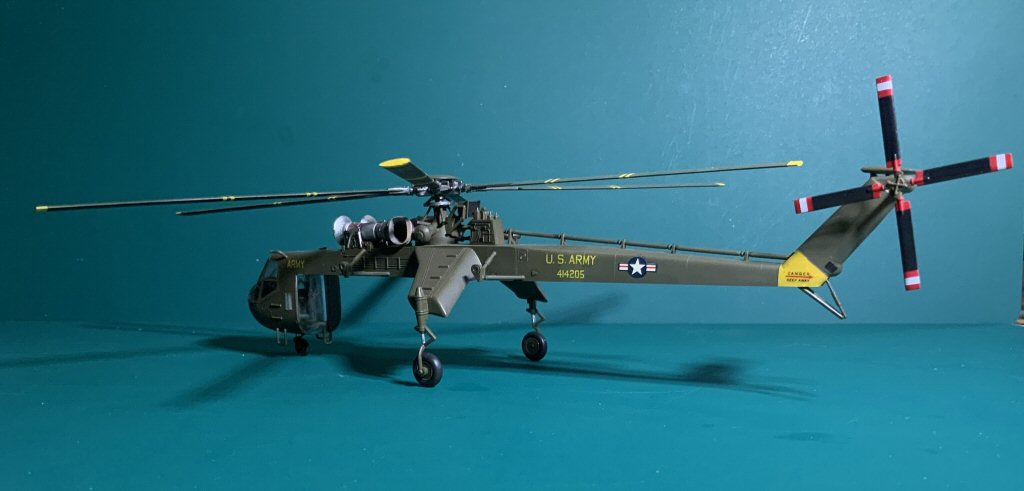
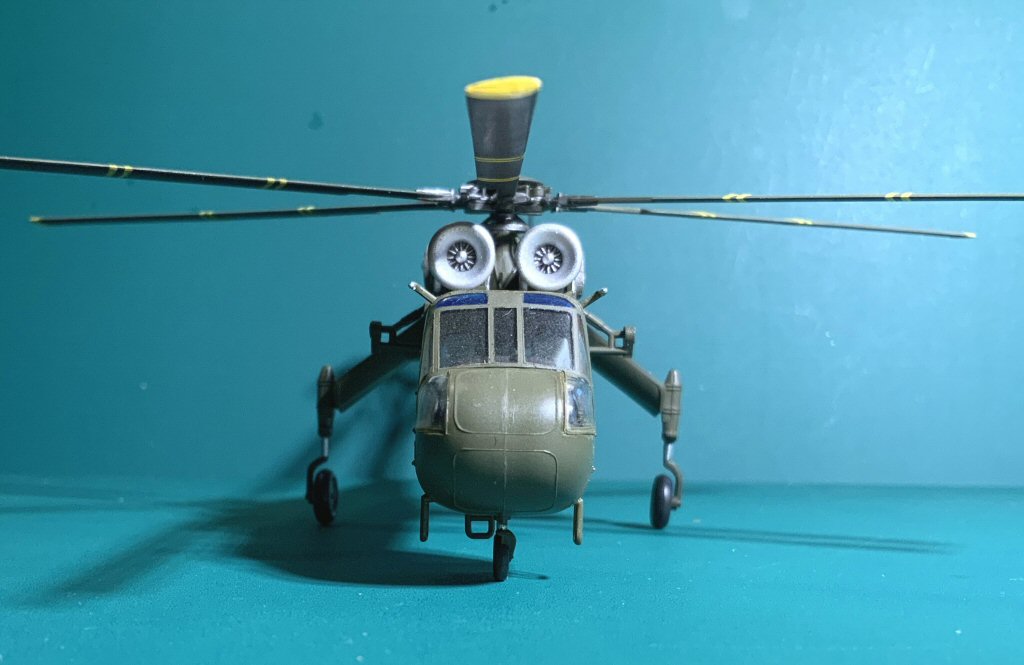
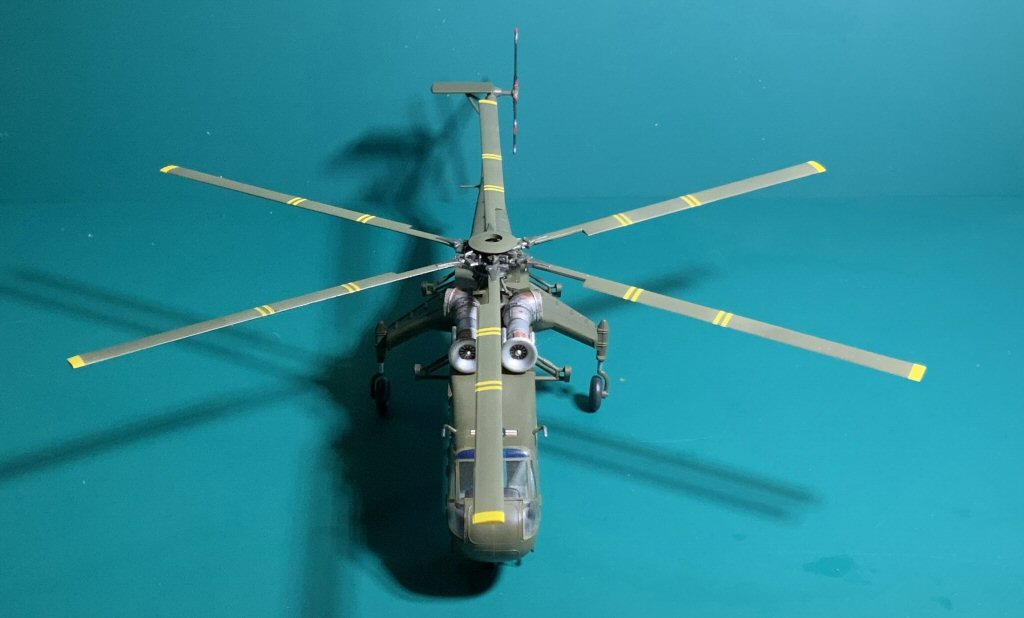
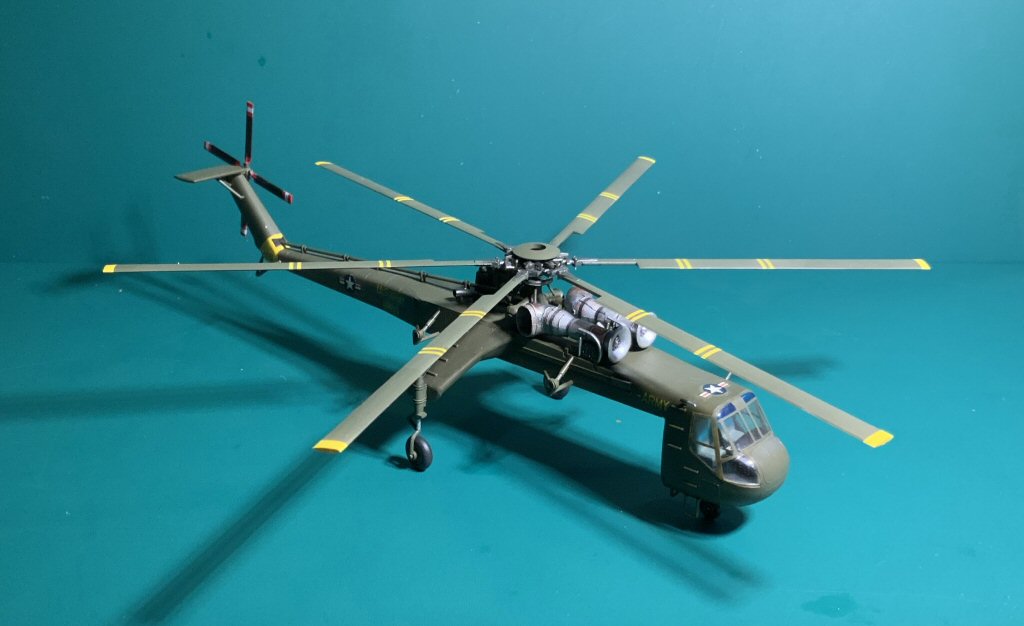
And here some pictures of the Final Model (without pod)
|
Created, maintained and Copyright © 2004 / 2023, Tom (remove SPAM from email adress)
|
|


.jpg)